Homemade Strawberry Jam
Checking the Set
To test if your jam is ready, place a small spoonful on a cold plate. Let it sit for 30 seconds. Run your finger through it. If the jam wrinkles slightly or holds its shape, it is ready. If not, cook for a few more minutes and test again.
Prepare the Jars
Sterilize jars in boiling water for 10 minutes. Keep them hot until ready to fill. This step is important for safe storage and prevents bacteria growth.
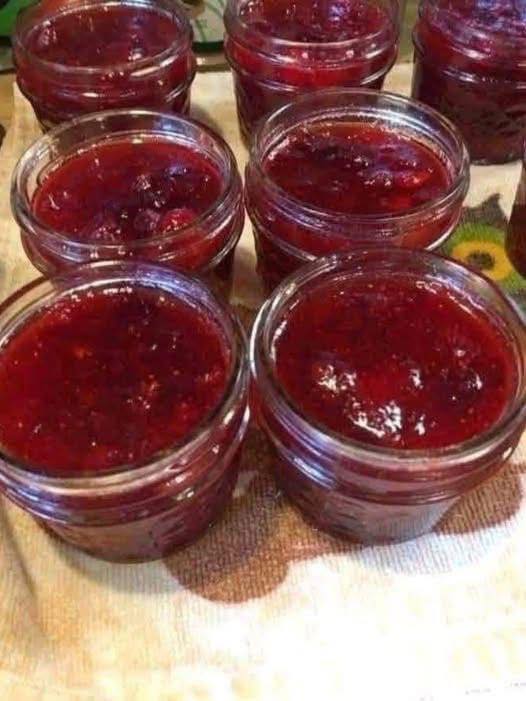
Filling the Jars
Ladle the hot jam into sterilized jars, leaving a small amount of headspace at the top. Wipe the rims clean. Seal with sterilized lids and rings.
Processing
Place the jars in a pot of boiling water. Process for 10 minutes to ensure a safe seal. Remove the jars and let them cool undisturbed for 12 to 24 hours. You will hear the lids pop as they seal.
Cooling and Storing
Label the jars with the date. Store them in a cool, dark place. Properly sealed jars can last up to 1 year. Refrigerate after opening.
Benefits
Strawberry jam captures the taste of fresh berries year-round. It’s free from artificial colors, preservatives, and unnecessary additives. Homemade jam allows customization of sweetness and texture, making it healthier than many store-bought versions. Strawberries contain vitamin C, fiber, and antioxidants, which contribute to immune support and digestion.
Formation
This jam thickens naturally through the combination of fruit, sugar, lemon juice, and heat. As it cooks, the fruit breaks down, the pectin in the berries activates, and the liquid evaporates. The result is a deep, glossy formation that holds its shape on a spoon or spread.
Conclusion
Homemade strawberry jam is simple to make yet incredibly rewarding. It’s rich, flavorful, versatile, and perfect for canning or gifting. This traditional recipe gives you a high-quality, thick jam with pure strawberry flavor. Once you try this homemade version, you may never return to store-bought jam again.